The spring of 2012, after a move and three deployments, marked my return to building (after unpacking and repairing models that had been boxed up since my move in autumn of 2008). For my return, I chose the Italeri 1/72 A-6E Intruder. I picked it because it had been given to me by a fellow modeller as 'payment' for some patches and zappers (stickers) from where I worked. In exchange for a modest charge to my mess bill, I was given a Revell Intruder, the Italeri intruder, and a weapons set or two. Needless to say, my friend drastically overpaid.
Given such generosity, I figured it was only fitting I should build one of these kits first. I had already done a Revell 1/72 Intruder, and while I wasn't opposed to doing that much work again, it didn't seem like a good way to knock the rust off after almost 4 years away from the workbench. And so, I set to work on the Italeri Intruder, the only aftermarket items added being a decal sheet from Hi-Decal.
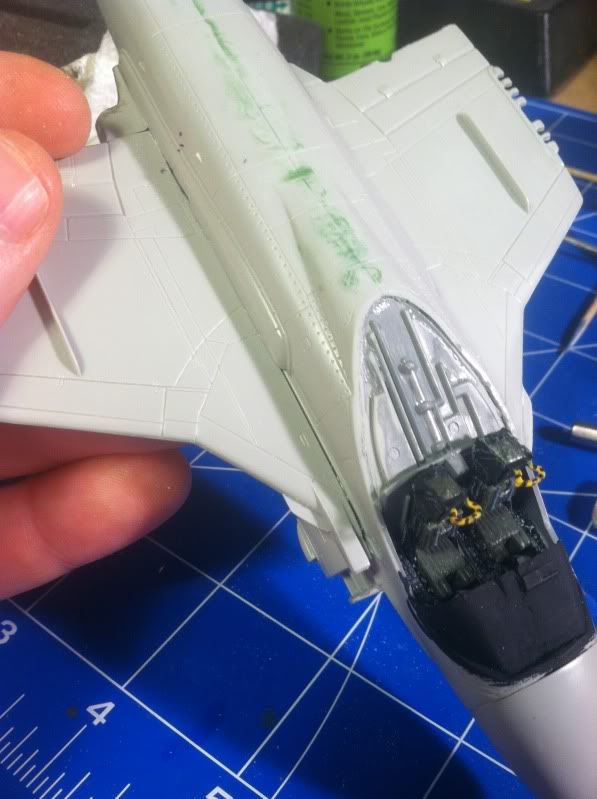
The cockpit is pretty respectable, actually. I didn't feel the need to add anything to it. Simple painting, and dry-brushing to capture the raised detail, got it done. The seats were also pretty solid (and the details pop nicely after a dry-brushing) given the scale and the fact they're 'just' from the kit. Yes, lap belts and lower ejection handles would be 'nice' (which is to say, technically accurate) but let's be honest - no one's going to see that once the seats are inside the cockpit tub and mounted inside the fuselage.
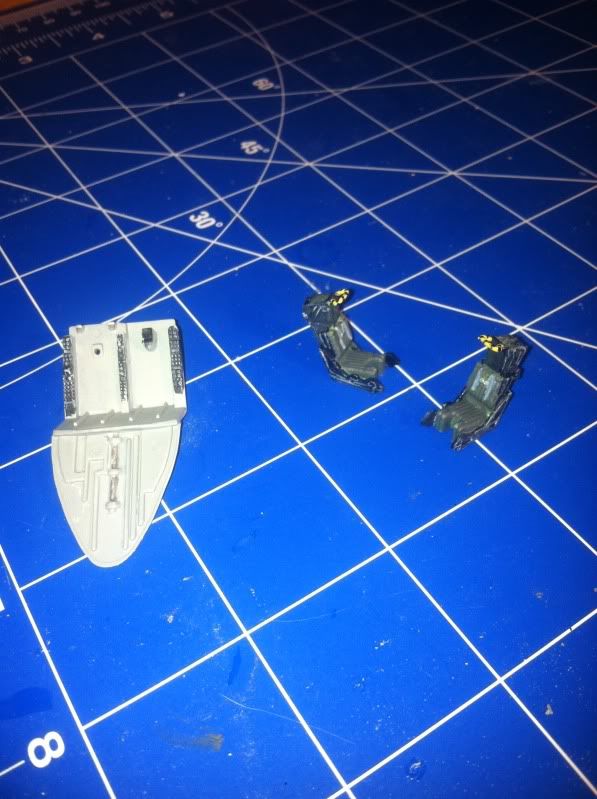
When you compare this cockpit to the one in the Revell offering, you can see why I chose to defer the latter until I had knocked a bit of rust off my modelling skills:
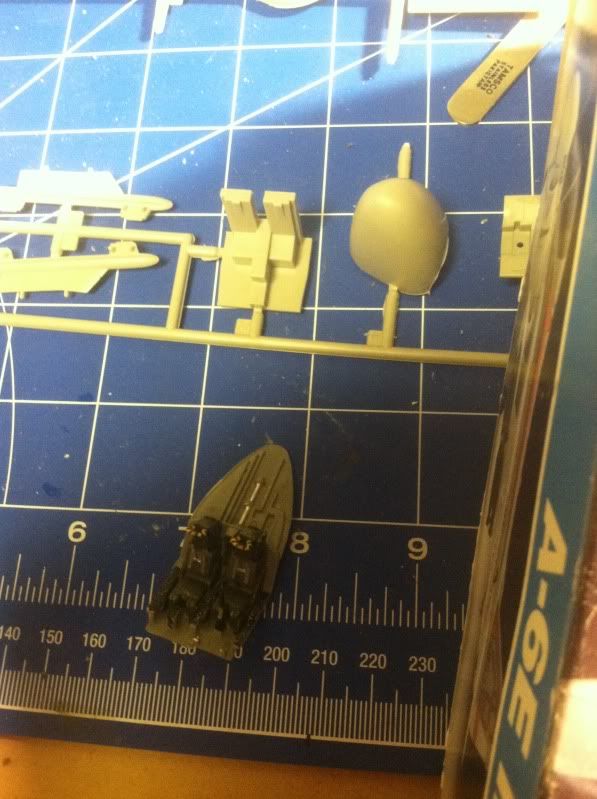
Before joining fuselage halves, you insert a 'plate' with the compressor faces into each intake. It's not a terrible representation of the front end of a jet engine, certainly better than just blank plastic or nothing at all. It's not perfect, and I suspect the contest crowd would opt for an intake cover or scratching some sort of intake duct wall. At the other end of the motor, the two turbine faces are on a single part that I feel actually lends some alignment help and structural stability when the time comes to join the fuselage halves.
The fuselage halves fit quite nicely with very little filler needed - further validating my choice for first kit out of the blocks upon my return to the hobby. While I don't have a picture of it, the keel of the aircraft, the underside between the motors, fit quite nicely too. In every other Prowler or Intruder model I've built, that had typically been a troublesome spot. This fit nearly flawlessly. The radome isn't installed yet in this picture, but before adding it, I had to add weight. I used a combination of Walther's weights, which are designed for model railroad cars and come with adhesive tape and in this case were installed between the cockpit floor and the 'roof' of the nosewheel well, and fishing weights secured inside the radome with blu-tac.
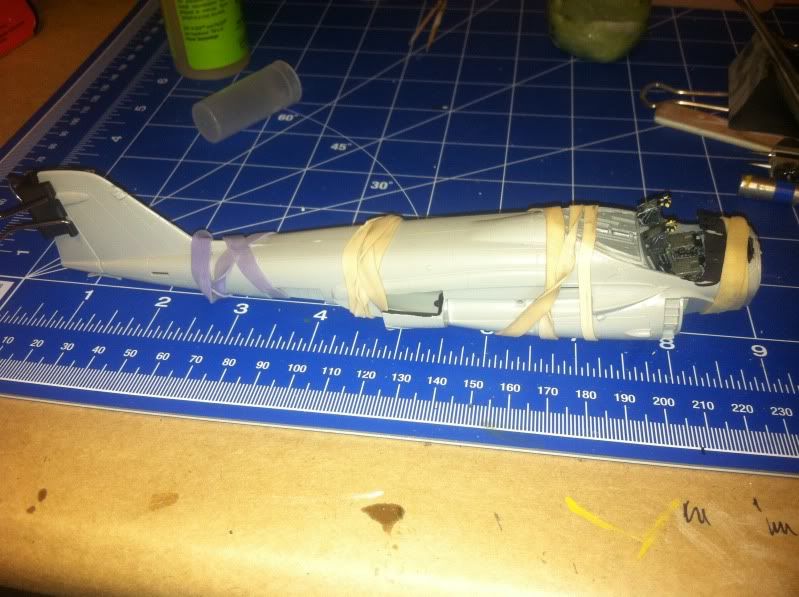
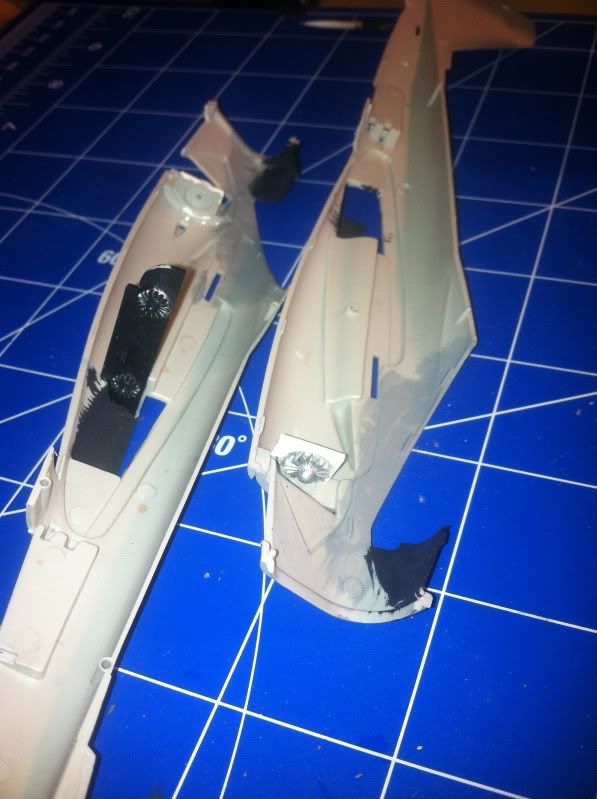
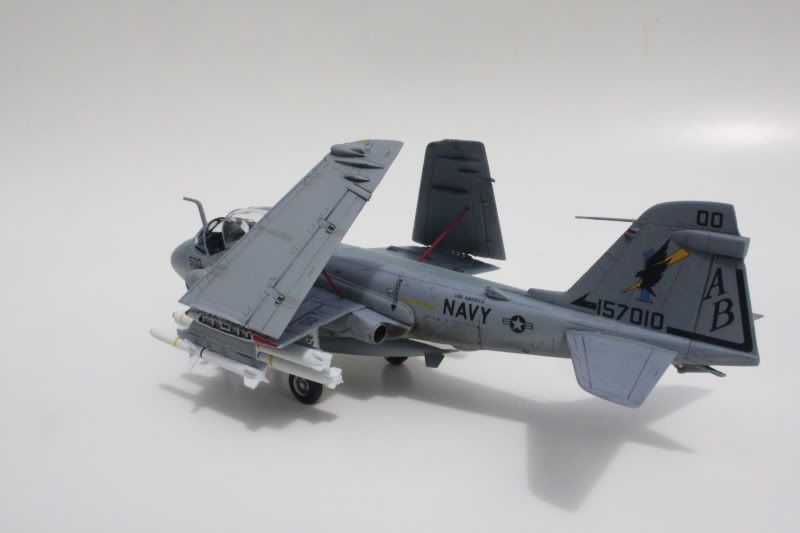
Another nice aspect of the Italeri fit is in the tailhook area. Again, in other models, this has been a rough spot; in some projects it required some amount of scratch building to keep from having wide open spaces. Forward of the tailhook is a void on the aircraft centerline (where the avionics bay is on the real thing) flanked on either side by the fuselage speedbrakes (which were bolted shut not far into the Intruder's career). Considering the geometry of the three parts that all had to fit next to each other immediately forward of the tailhook, I was a little worried about fit, but needn't have been. In this picture you can see the tailhook 'well' and the two fuselage speedbrakes mounted, before I installed the avionics bay panel.

With the fuselage taking shape, attention turned to the wings. Italeri gives you the option to fold the wings, so wing assembly is broken down into outboard wings and inboard wings, which include the main landing gear wells and engine fairings.
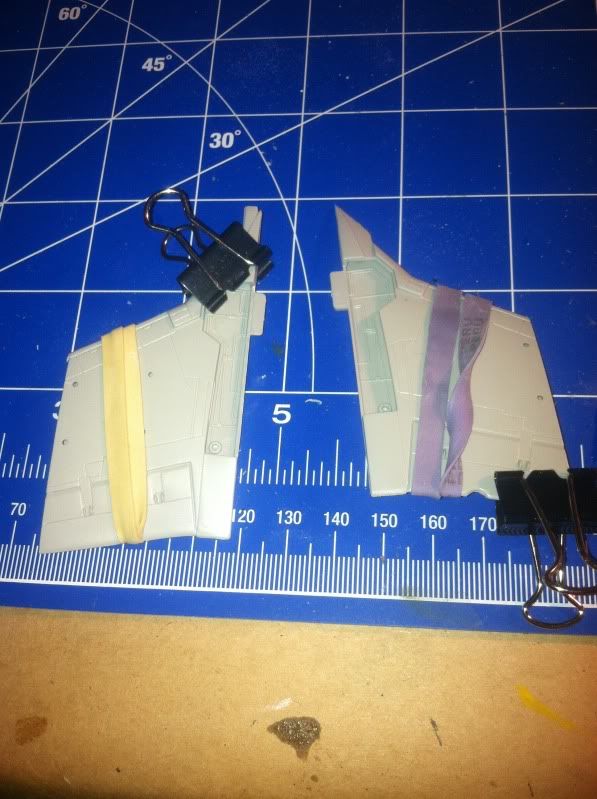
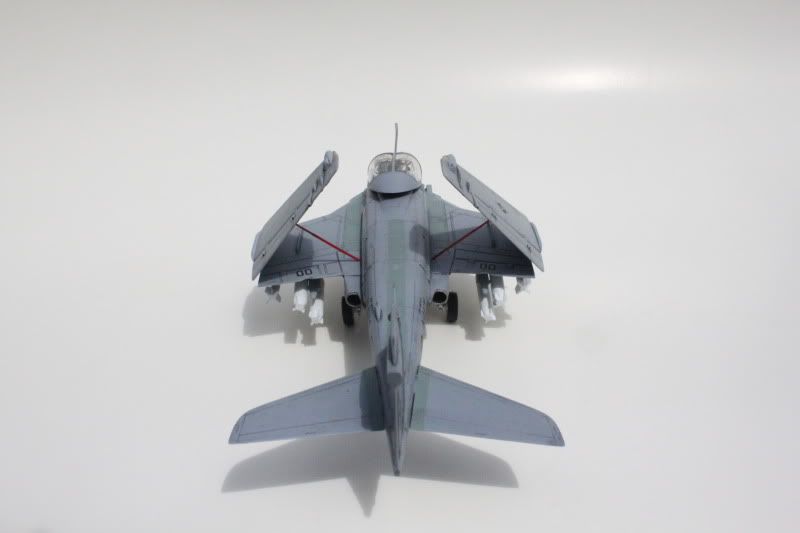
If you want to show your Intruder with the wings spread, then you just need to assemble the outboard wings and join them to the inboard ones. For both artistic reasons and in consideration of shelf space, I chose to fold my wings. In order to do that, you need to install 'end plates' between the upper and lower halves of both the inboard and outboard wing assemblies. These plates represent the wingfold detail.
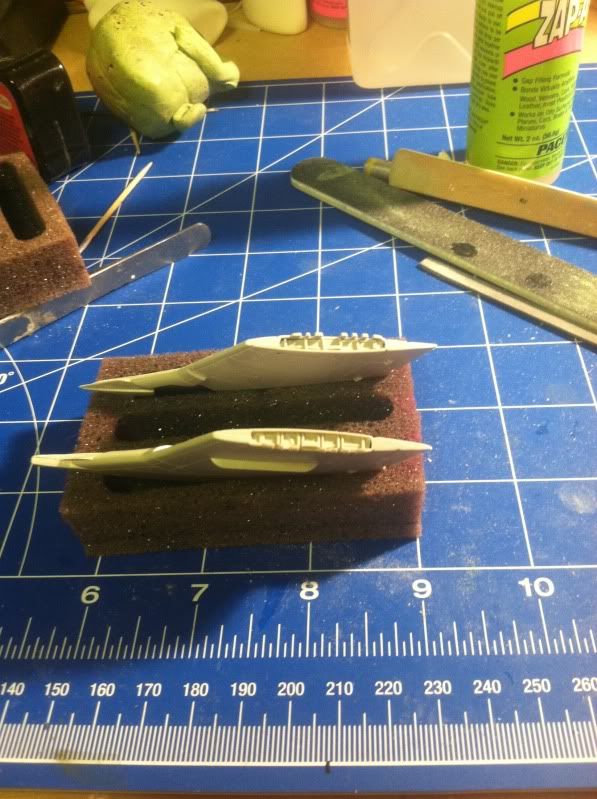
As you can see, the joint between the inboard wing and the fuselage left the biggest gaps on the model. To make filling and blending easier, I first shimmed the gap with sheet styrene that I trimmed to fit. I then used liquid cement (the kind applied with a brush in the cap) to partially melt the sheet styrene, such that it became sort of a slurry. That left less room to fill with putty, and therefore less chance the putty would shrink to the point of cracking as it dried.
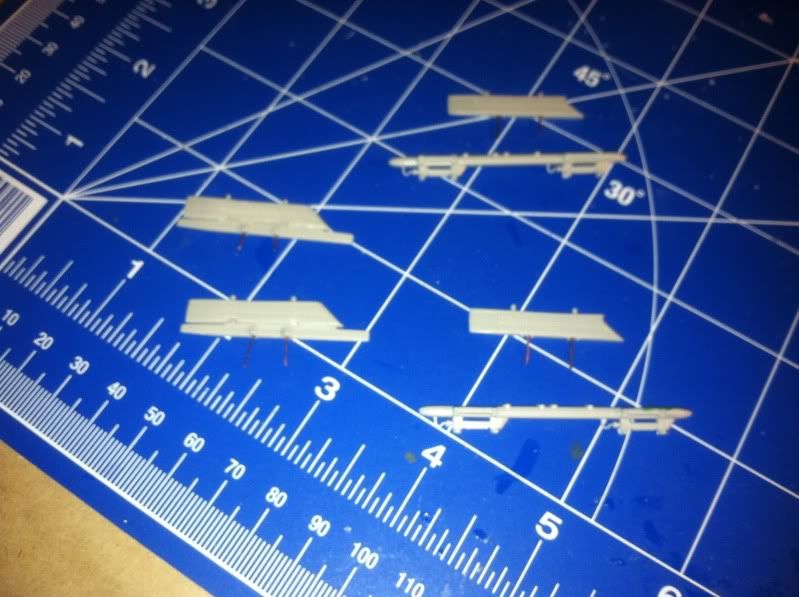
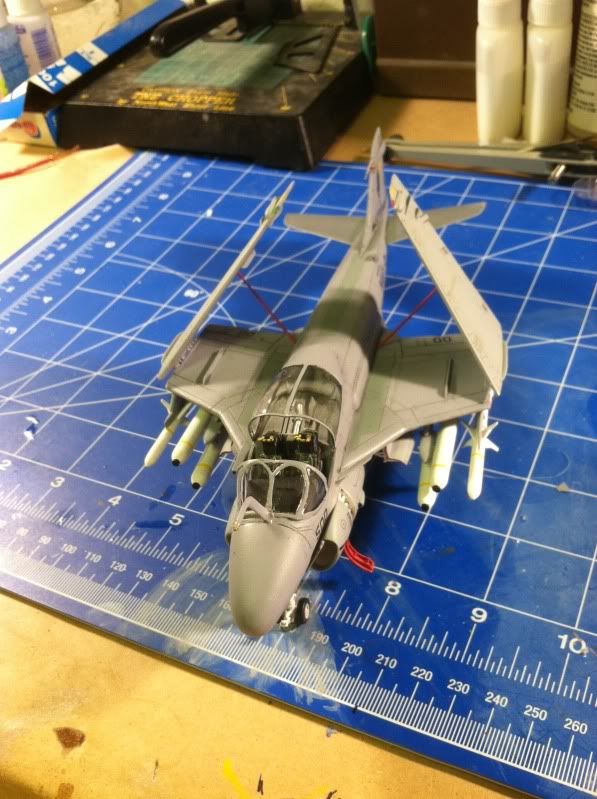
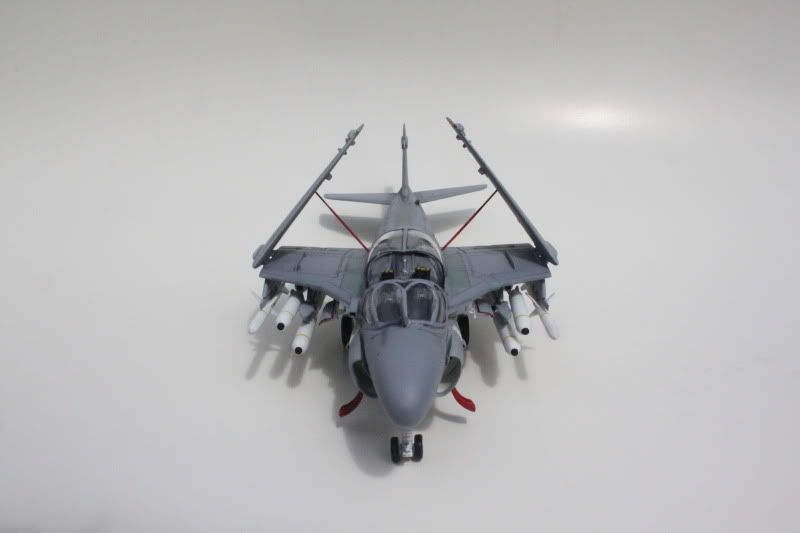
While preparing the rest of the model for paint I also prepared the ordnance and pylons. From experience, I knew these would be among the most vulnerable parts of the model the NEXT time I have to move, so I decided to beef up the mounting with some short lengths of copper wire.
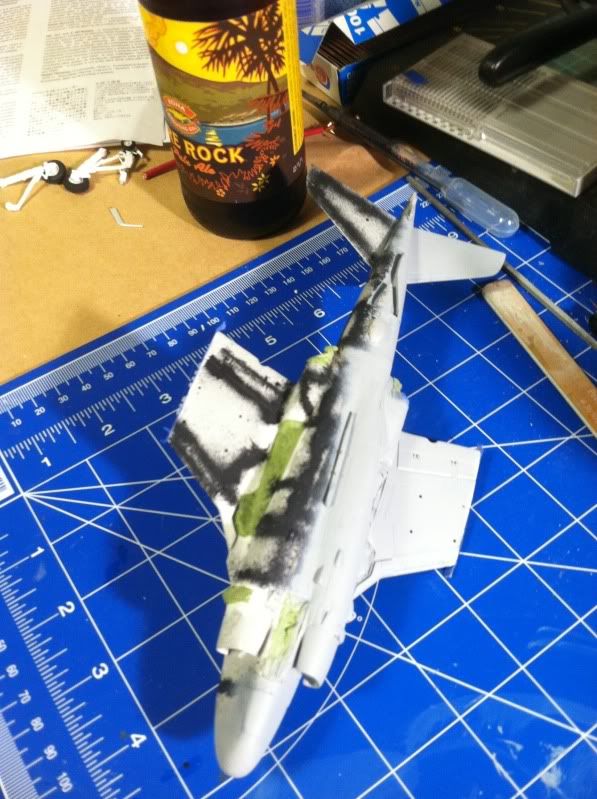
After masking the cockpit, intakes and landing gear wells with blu-tac, I started painting by pre-shading with Testors Aircraft Interior Black. It was my first time attempting the technique and while I'm pretty pleased with my airbrush application for a first time, the black was probably pretty stark. I think next time I might try gunship gray or something like that.
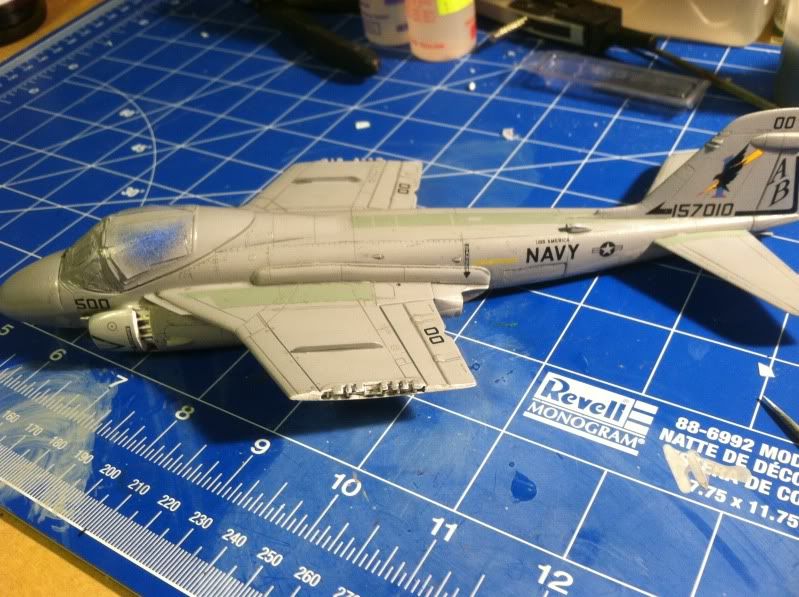
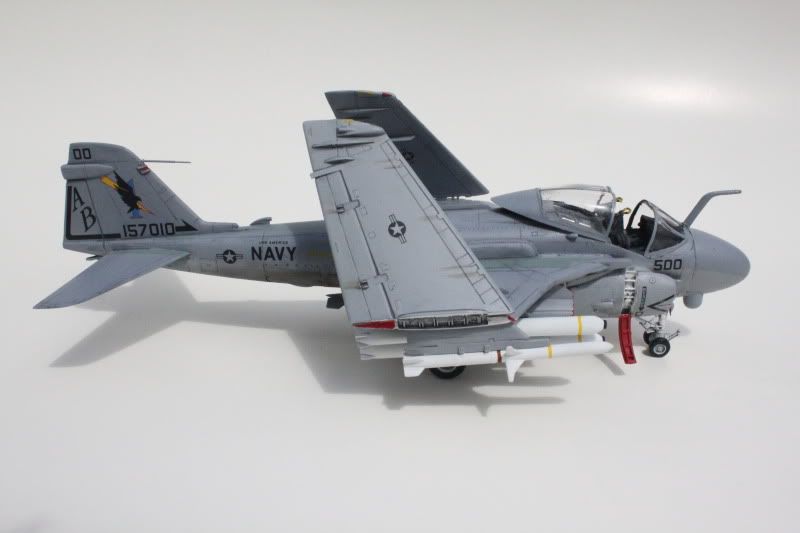
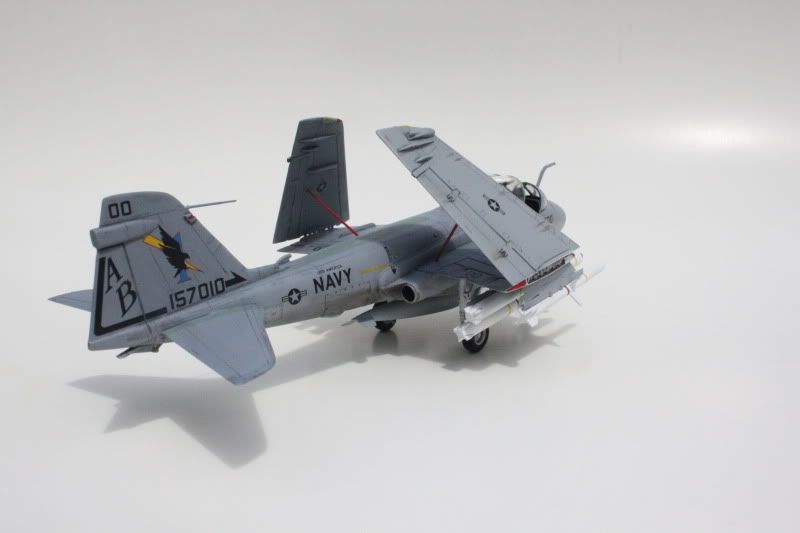
After a gloss-coat of Future floor polish, the aftermarket decals went down nicely...
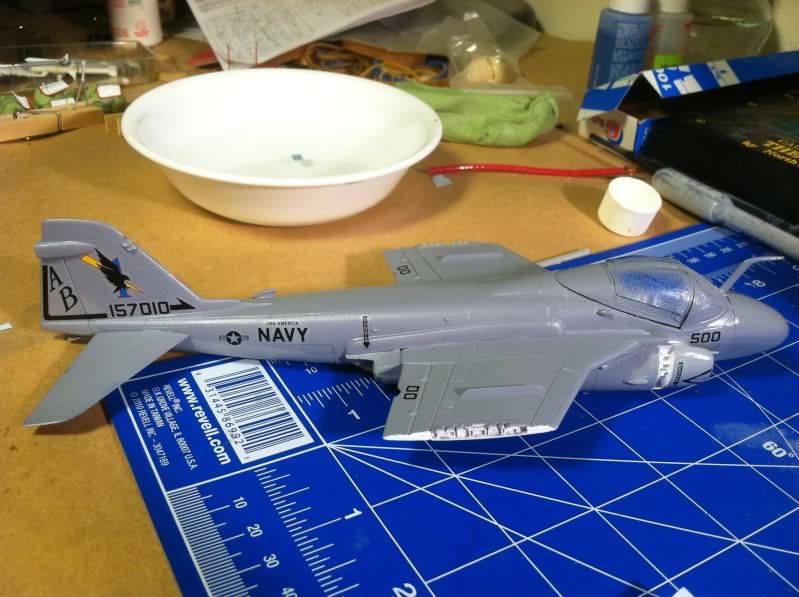
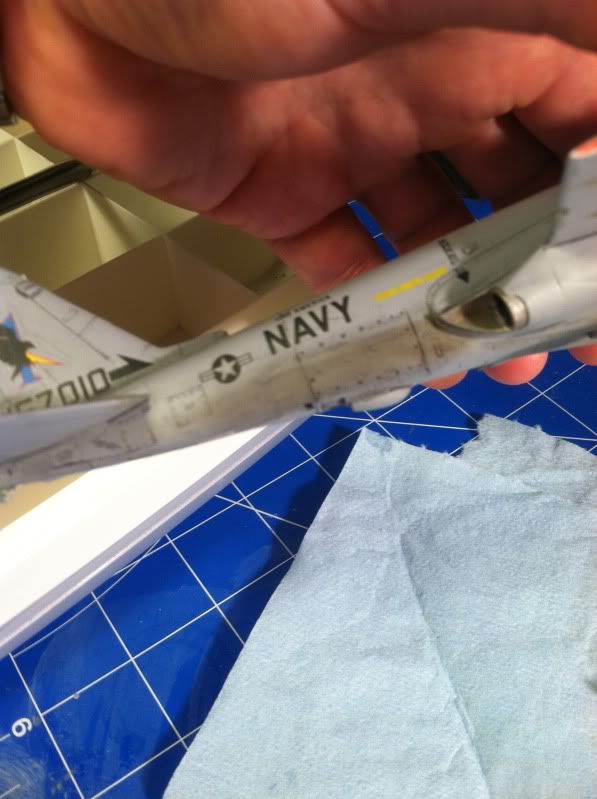
After that, another gloss coat protected the decals and facilitated a wash to accent some of the panel lines...
Another new technique I tried was using artists oils for weathering. I used raw sienna and burnt sienna to represent fluid leaks and exhaust staining:
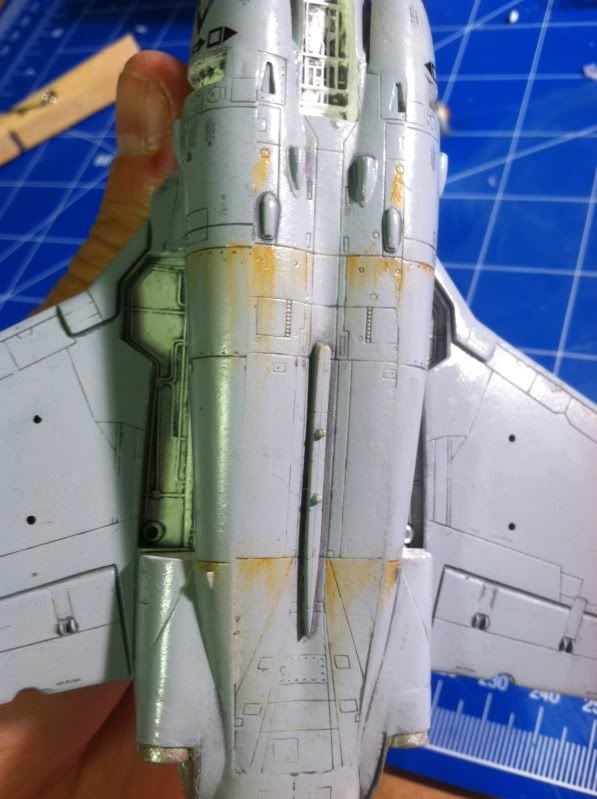
The oils were accentuated by using powdered pastels for soot on areas subject to engine exhaust...
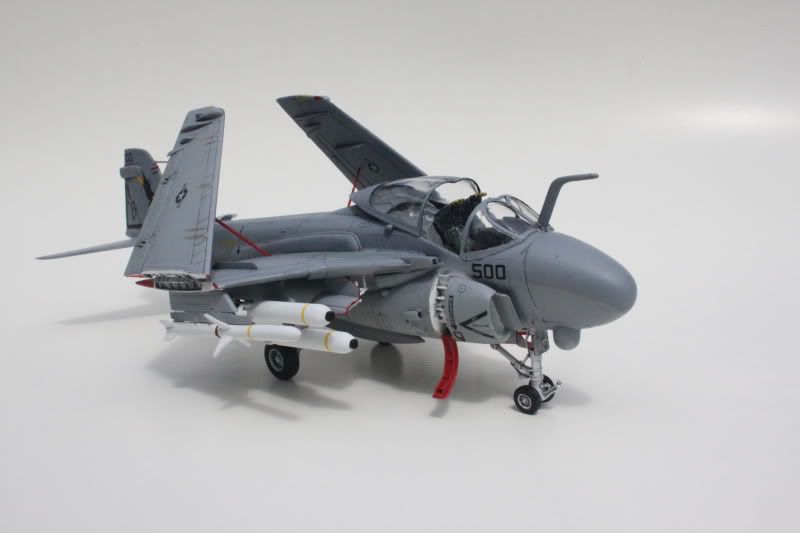
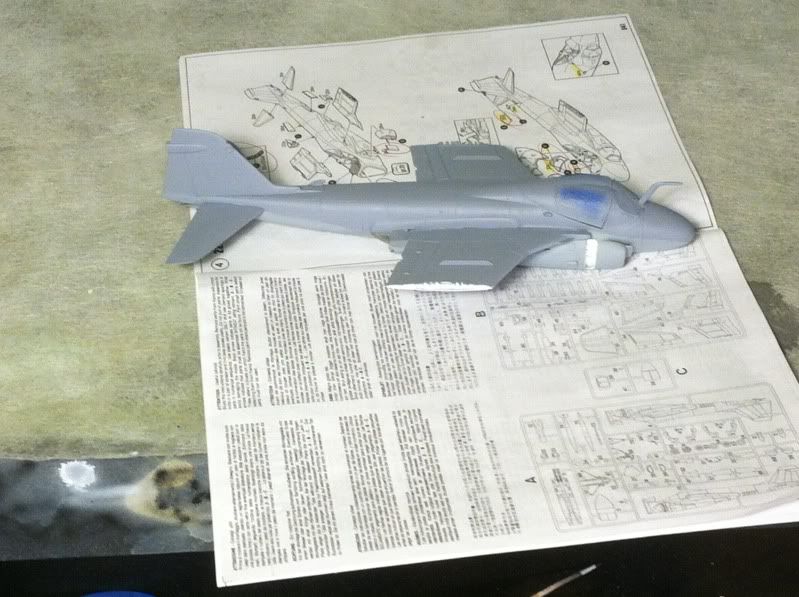
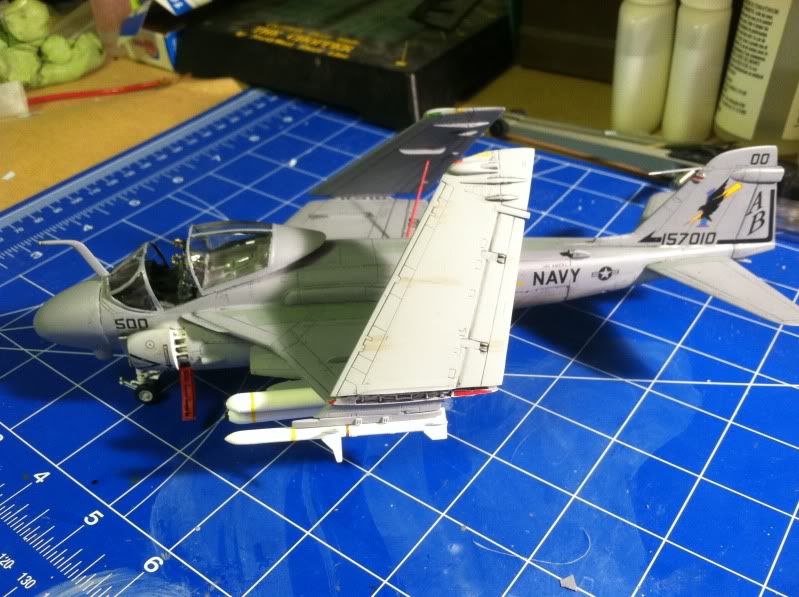
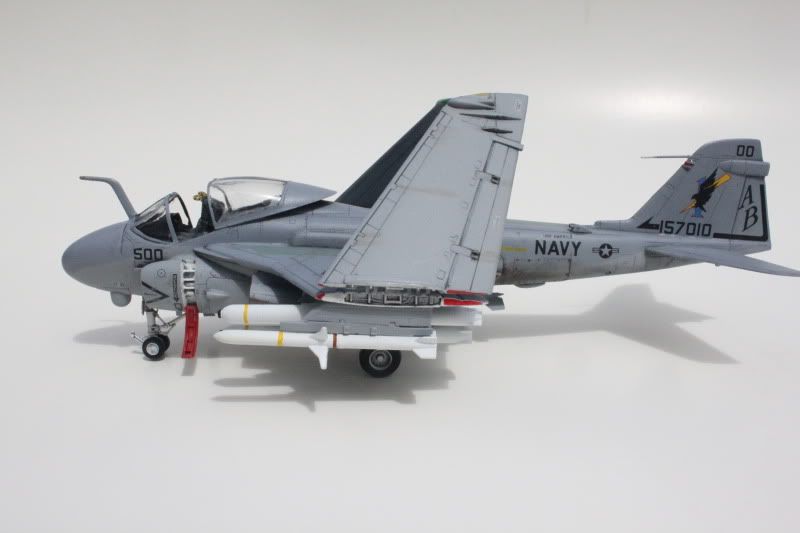
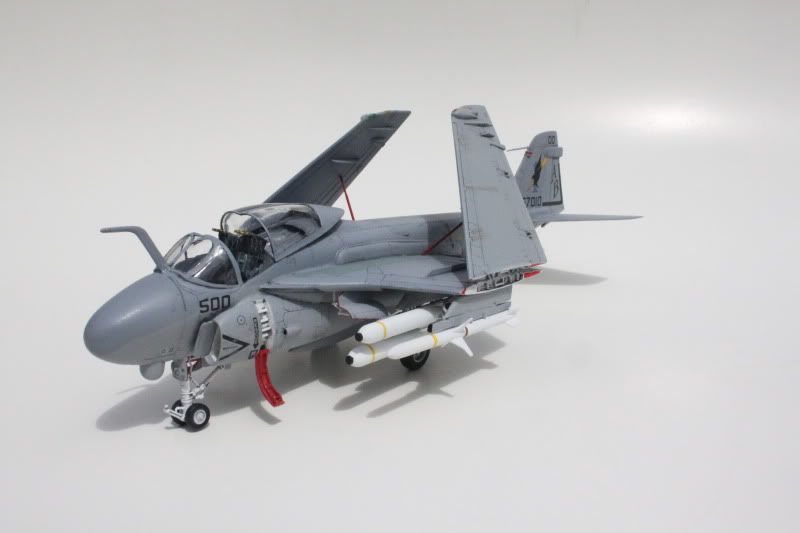
And after adding the ordnance, landing gear, outboard wings, and other final details, my first project back was complete....
Kit: Italeri
Scale: 1/72
Markings: VA-85
Date: June 2012
Aftermarket: Hi-Decal
Markings: VA-85
Date: June 2012
Aftermarket: Hi-Decal