Showing posts with label 1/72. Show all posts

Saturday, October 6, 2012

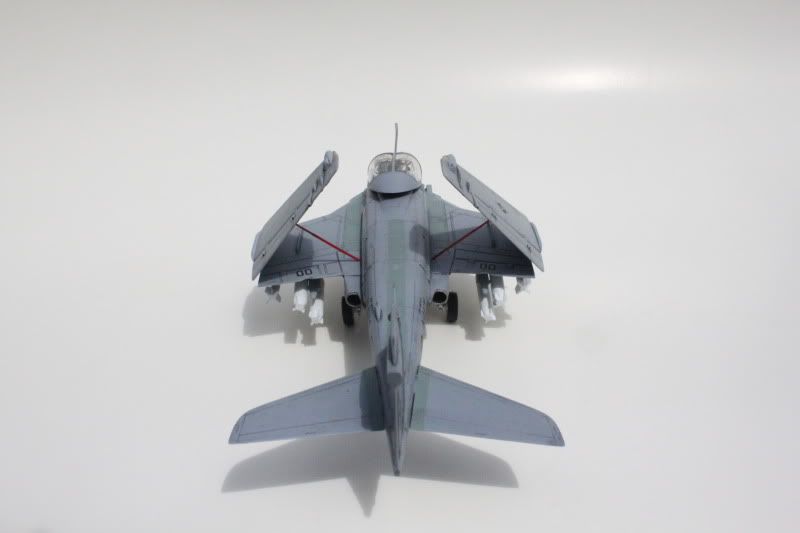
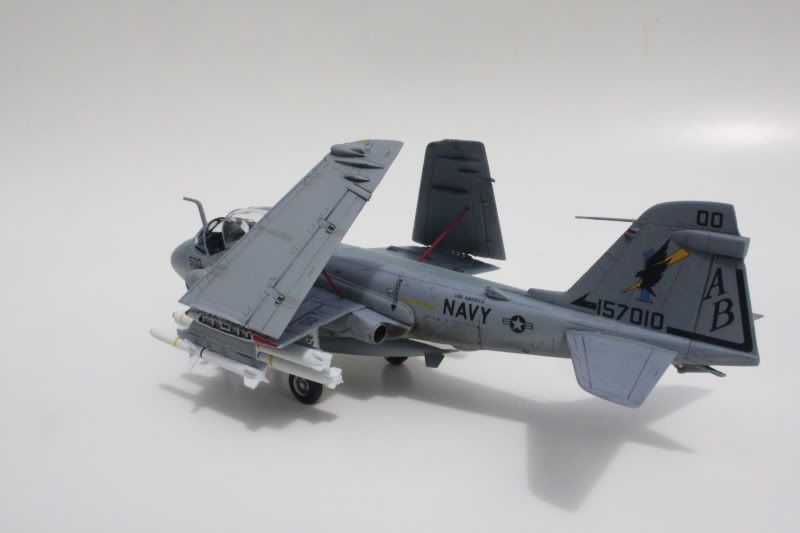
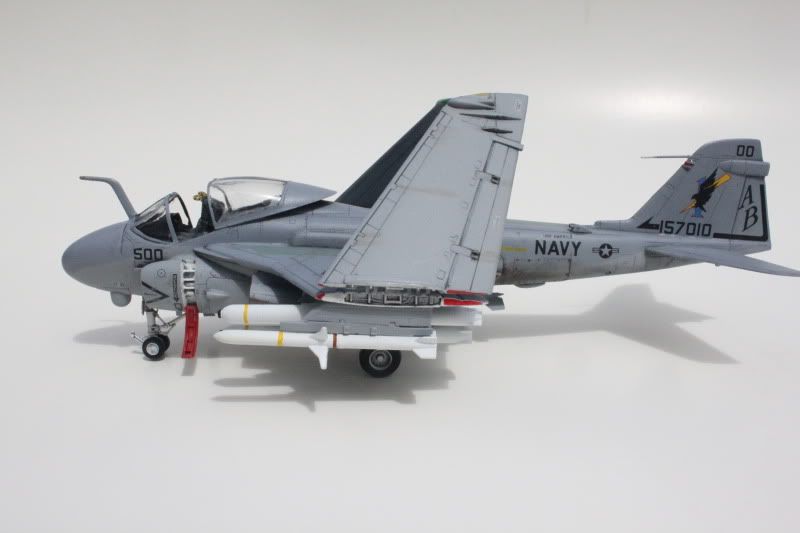
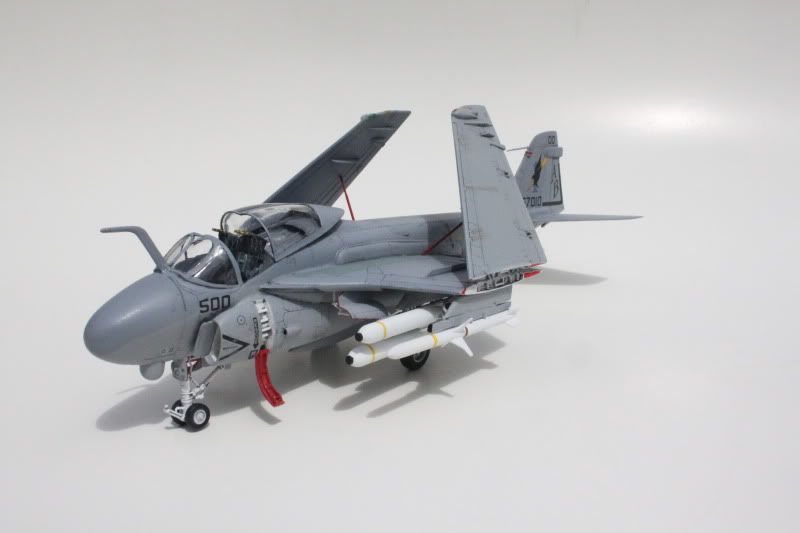
1/72 A-6E Intruder


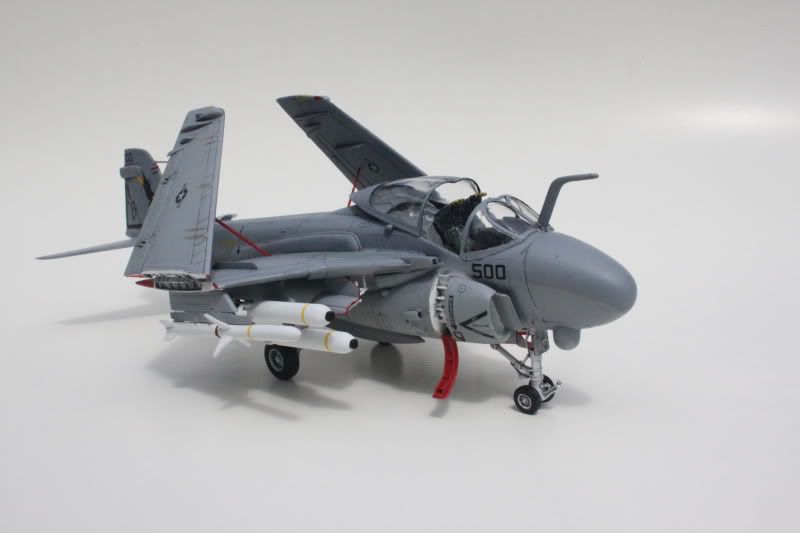
The spring of 2012, after a move and three deployments, marked my return to building (after unpacking and repairing models that had been boxed up since my move in autumn of 2008).  For my return, I chose the Italeri 1/72 A-6E Intruder.  I picked it because it had been given to me by a fellow modeller as 'payment' for some patches and zappers (stickers) from where I worked.  In exchange for a modest charge to my mess bill, I was given a Revell Intruder, the Italeri intruder, and a weapons set or two.  Needless to say, my friend drastically overpaid. 

Given such generosity, I figured it was only fitting I should build one of these kits first.  I had already done a Revell 1/72 Intruder, and while I wasn't opposed to doing that much work again, it didn't seem like a good way to knock the rust off after almost 4 years away from the workbench. And so, I set to work on the Italeri Intruder, the only aftermarket items added being a decal sheet from Hi-Decal.

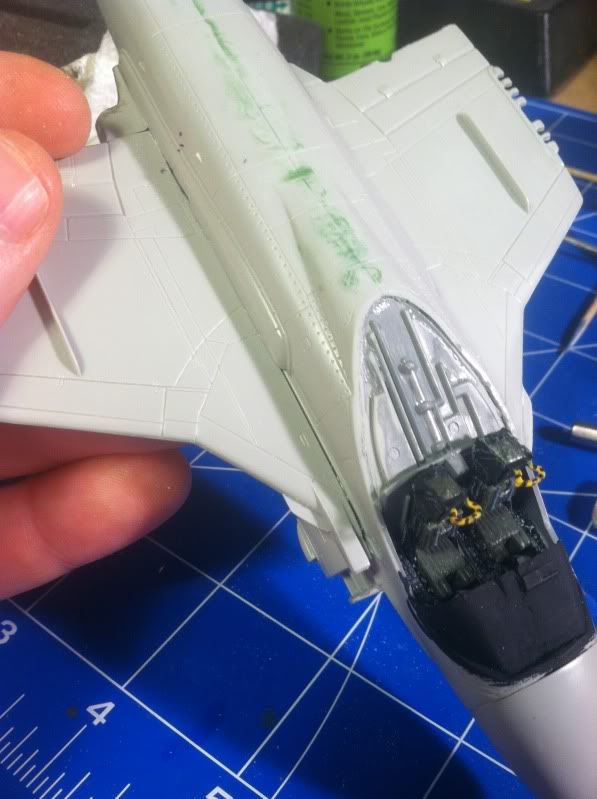
The cockpit is pretty respectable, actually.  I didn't feel the need to add anything to it.  Simple painting, and dry-brushing to capture the raised detail, got it done. The seats were also pretty solid (and the details pop nicely after a dry-brushing) given the scale and the fact they're 'just' from the kit.  Yes, lap belts and lower ejection handles would be 'nice' (which is to say, technically accurate) but let's be honest - no one's going to see that once the seats are inside the cockpit tub and mounted inside the fuselage.
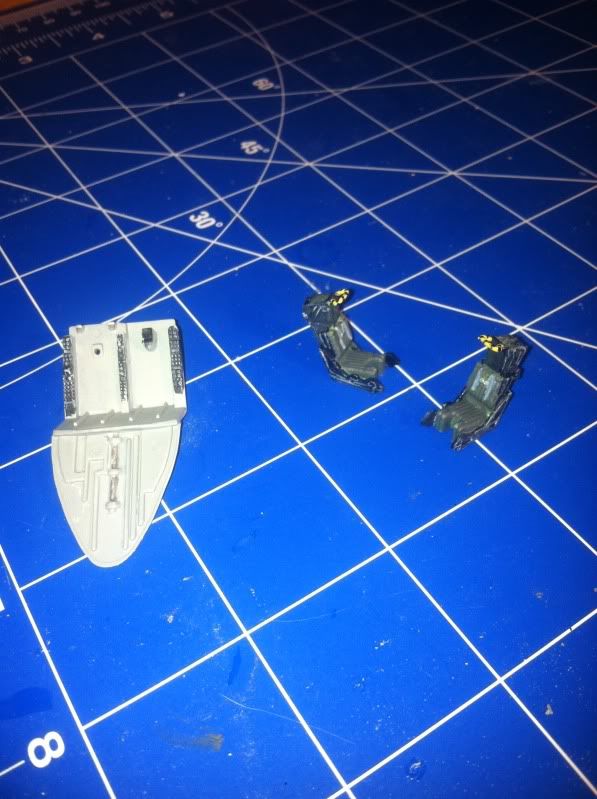

When you compare this cockpit to the one in the Revell offering, you can see why I chose to defer the latter until I had knocked a bit of rust off my modelling skills:
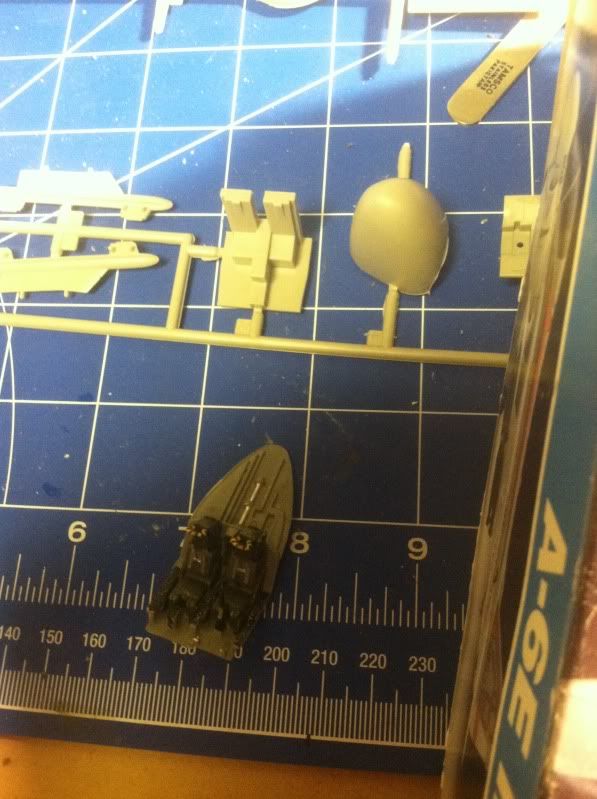

Before joining fuselage halves, you insert a 'plate' with the compressor faces into each intake.  It's not a terrible representation of the front end of a jet engine, certainly better than just blank plastic or nothing at all.  It's not perfect, and I suspect the contest crowd would opt for an intake cover or scratching some sort of intake duct wall.  At the other end of the motor, the two turbine faces are on a single part that I feel actually lends some alignment help and structural stability when the time comes to join the fuselage halves.
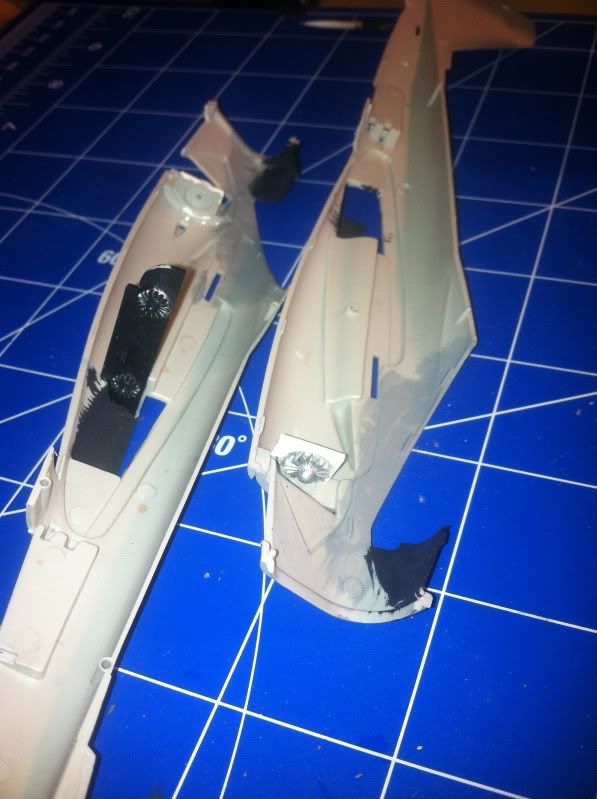

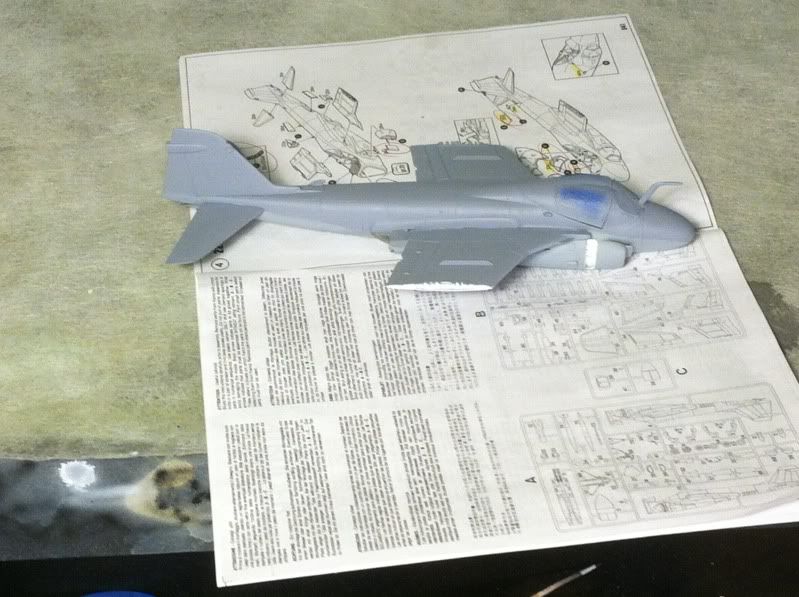
The fuselage halves fit quite nicely with very little filler needed - further validating my choice for first kit out of the blocks upon my return to the hobby. While I don't have a picture of it, the keel of the aircraft, the underside between the motors, fit quite nicely too.  In every other Prowler or Intruder model I've built, that had typically been a troublesome spot.  This fit nearly flawlessly. The radome isn't installed yet in this picture, but before adding it, I had to add weight.  I used a combination of Walther's weights, which are designed for model railroad cars and come with adhesive tape and in this case were installed between the cockpit floor and the 'roof' of the nosewheel well, and fishing weights secured inside the radome with blu-tac.
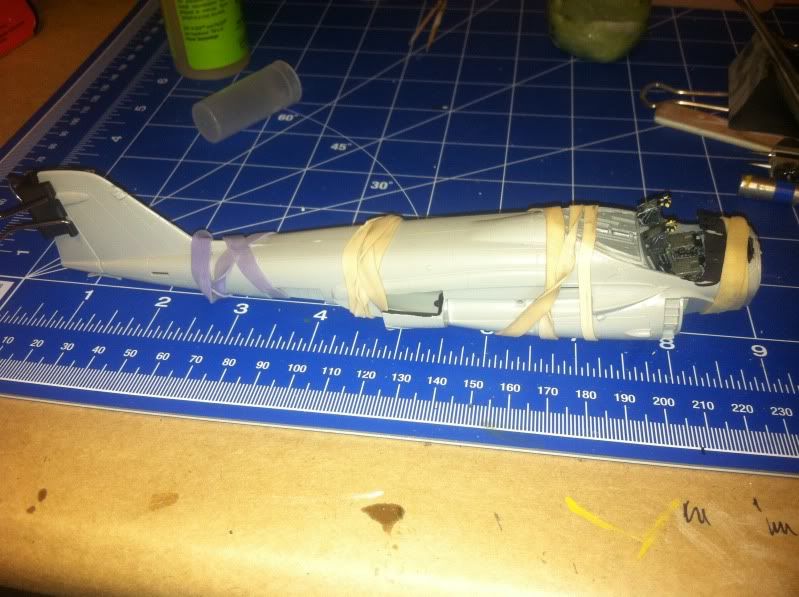

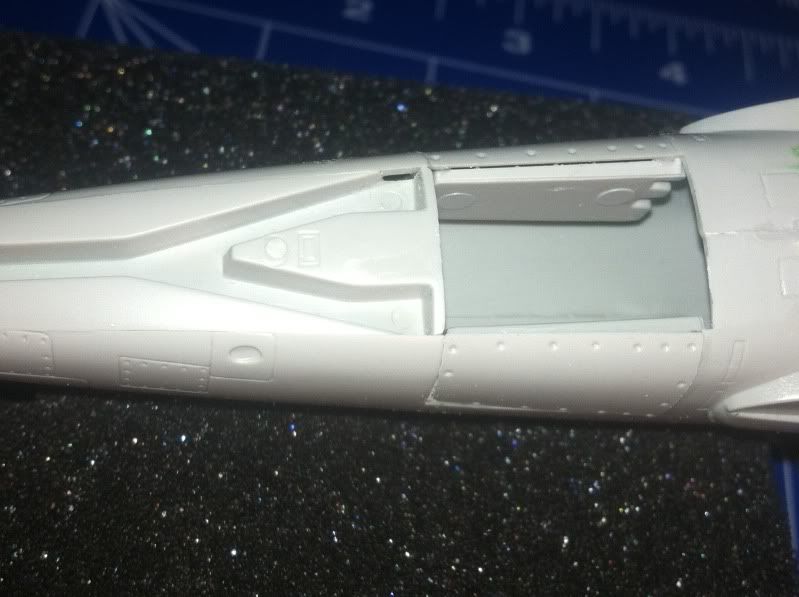
Another nice aspect of the Italeri fit is in the tailhook area.  Again, in other models, this has been a rough spot; in some projects it required some amount of scratch building to keep from having wide open spaces.  Forward of the tailhook is a void on the aircraft centerline (where the avionics bay is on the real thing) flanked on either side by the fuselage speedbrakes (which were bolted shut not far into the Intruder's career).  Considering the geometry of the three parts that all had to fit next to each other immediately forward of the tailhook, I was a little worried about fit, but needn't have been.  In this picture you can see the tailhook 'well' and the two fuselage speedbrakes mounted, before I installed the avionics bay panel.

With the fuselage taking shape, attention turned to the wings.  Italeri gives you the option to fold the wings, so wing assembly is broken down into outboard wings and inboard wings, which include the main landing gear wells and engine fairings. 
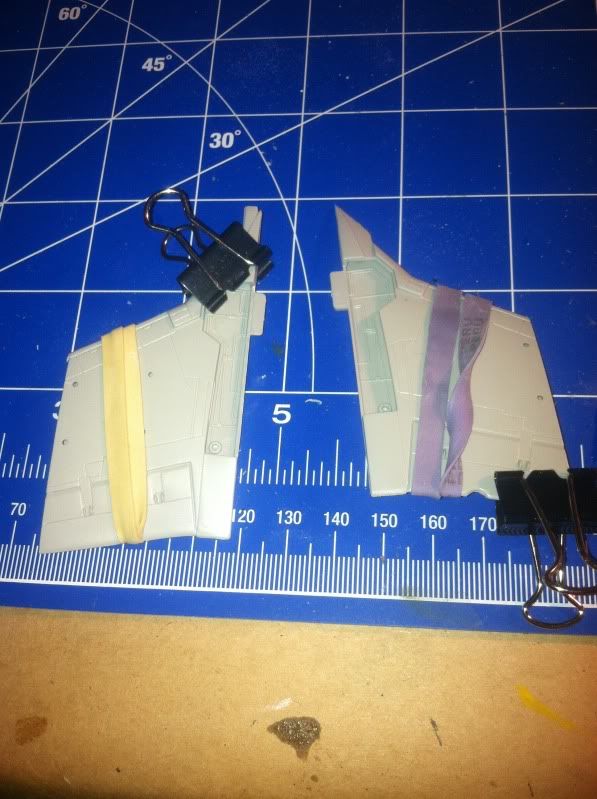

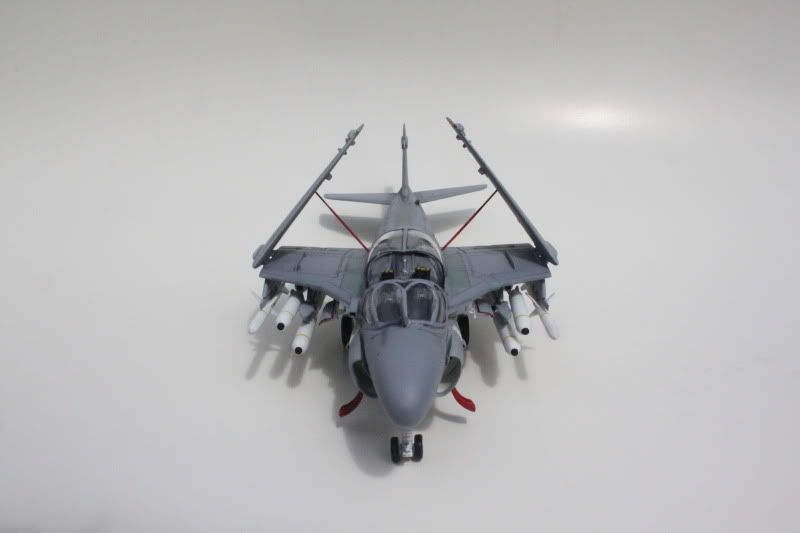
If you want to show your Intruder with the wings spread, then you just need to assemble the outboard wings and join them to the inboard ones.  For both artistic reasons and in consideration of shelf space, I chose to fold my wings.  In order to do that, you need to install 'end plates' between the upper and lower halves of both the inboard and outboard wing assemblies.  These plates represent the wingfold detail. 
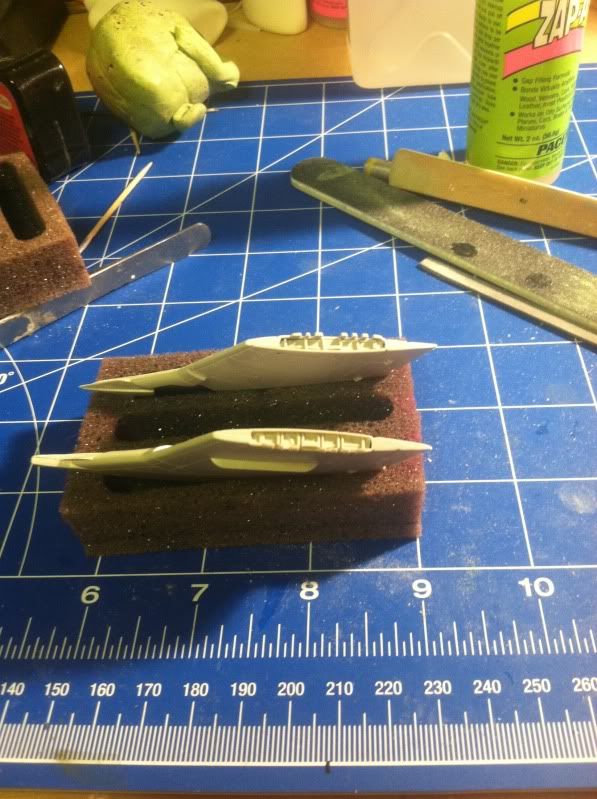

As you can see, the joint between the inboard wing and the fuselage left the biggest gaps on the model.  To make filling and blending easier, I first shimmed the gap with sheet styrene that I trimmed to fit.  I then used liquid cement (the kind applied with a brush in the cap) to partially melt the sheet styrene, such that it became sort of a slurry.  That left less room to fill with putty, and therefore less chance the putty would shrink to the point of cracking as it dried.

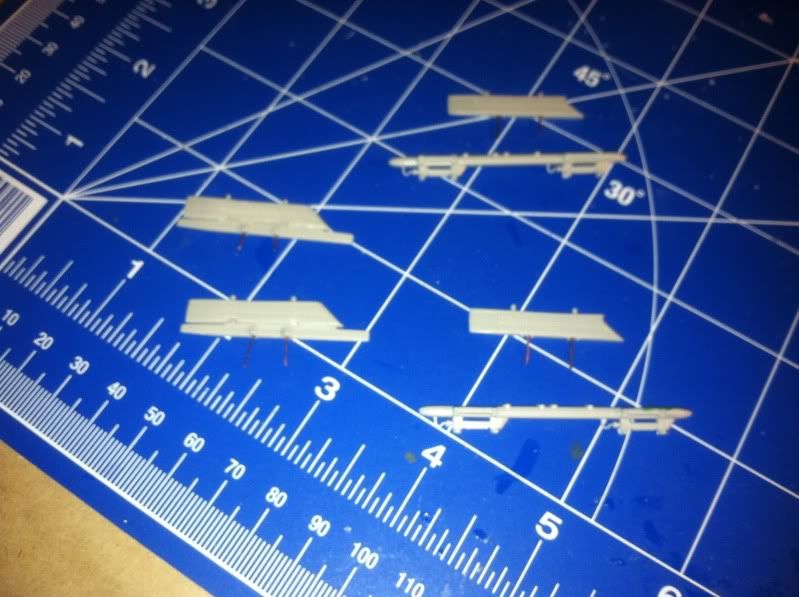
While preparing the rest of the model for paint I also prepared the ordnance and pylons.  From experience, I knew these would be among the most vulnerable parts of the model the NEXT time I have to move, so I decided to beef up the mounting with some short lengths of copper wire. 

After masking the cockpit, intakes and landing gear wells with blu-tac, I started painting by pre-shading with Testors Aircraft Interior Black.  It was my first time attempting the technique and while I'm pretty pleased with my airbrush application for a first time, the black was probably pretty stark.  I think next time I might try gunship gray or something like that.
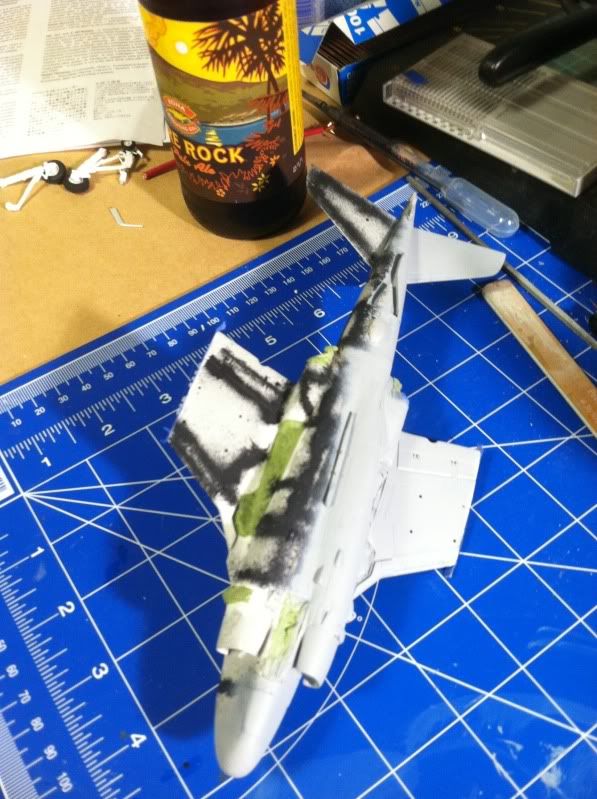

The rest of the painting, using Testors Model Master acrylics, was straightforward - and while it doesn't show it here so well, just enough of the preshading showed through to pull off the effect.


After a gloss-coat of Future floor polish, the aftermarket decals went down nicely...
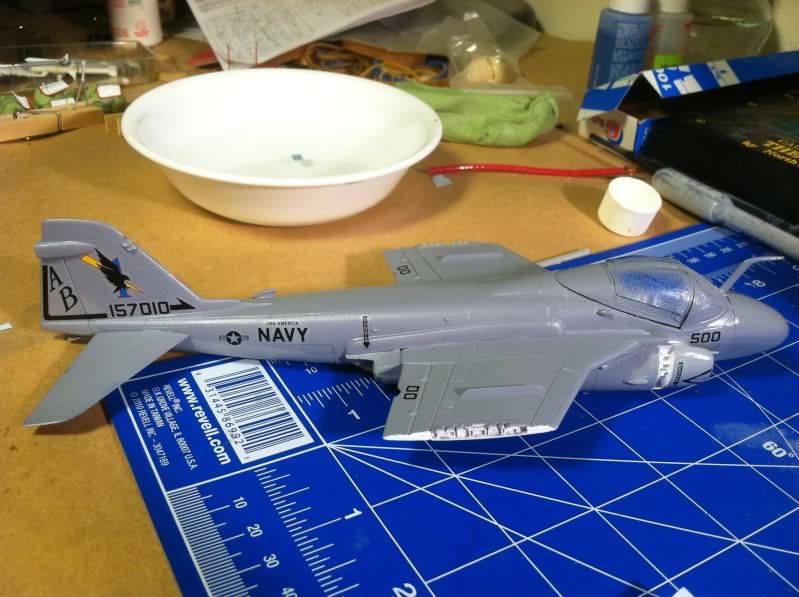

After that, another gloss coat protected the decals and facilitated a wash to accent some of the panel lines...
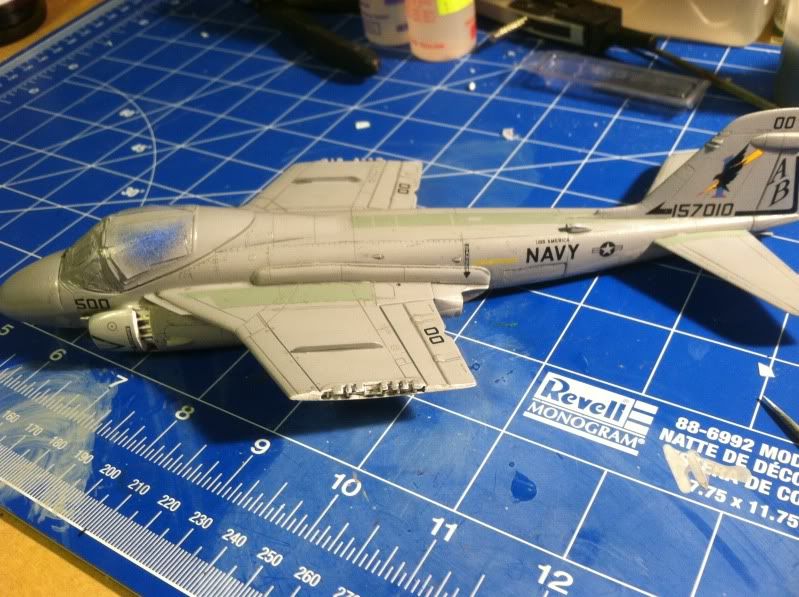
 
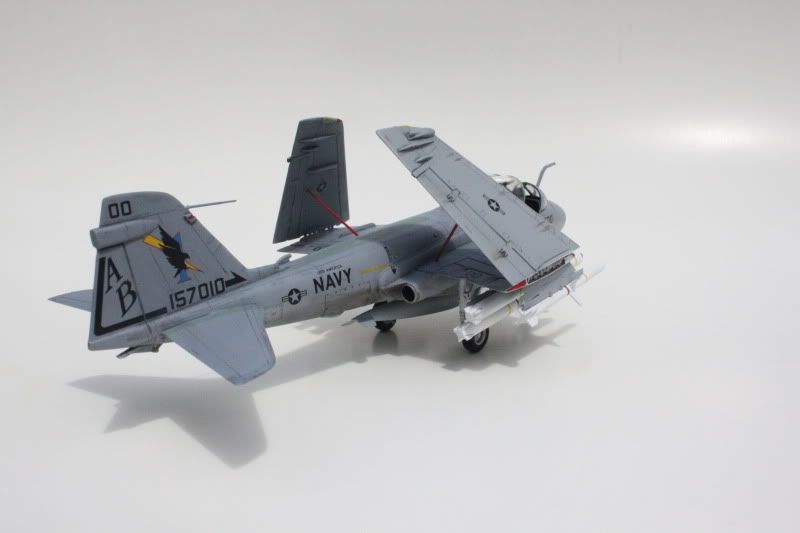
Another new technique I tried was using artists oils for weathering.  I used raw sienna and burnt sienna to represent fluid leaks and exhaust staining:
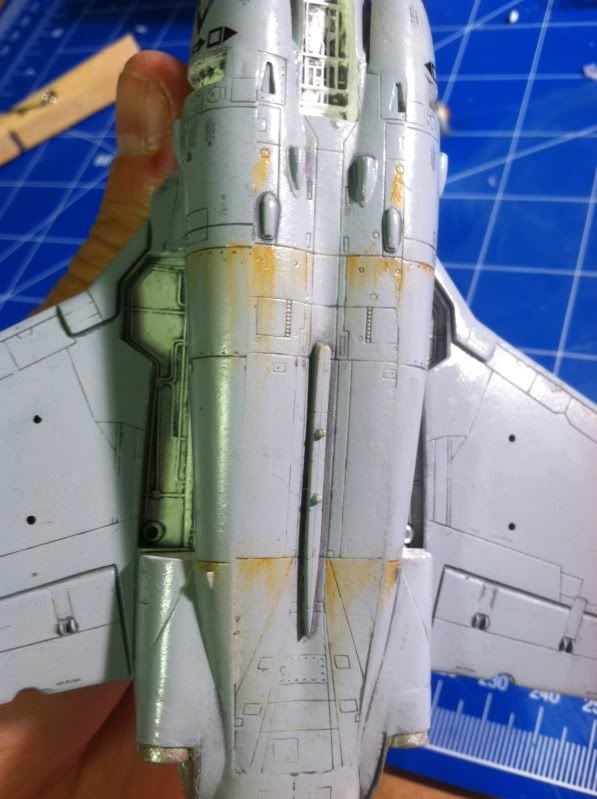

 The oils were accentuated by using powdered pastels for soot on areas subject to engine exhaust...
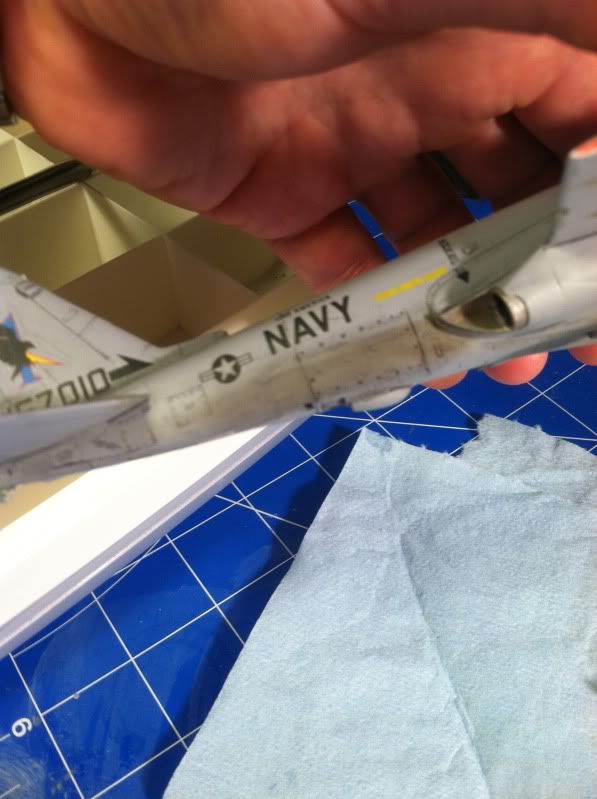

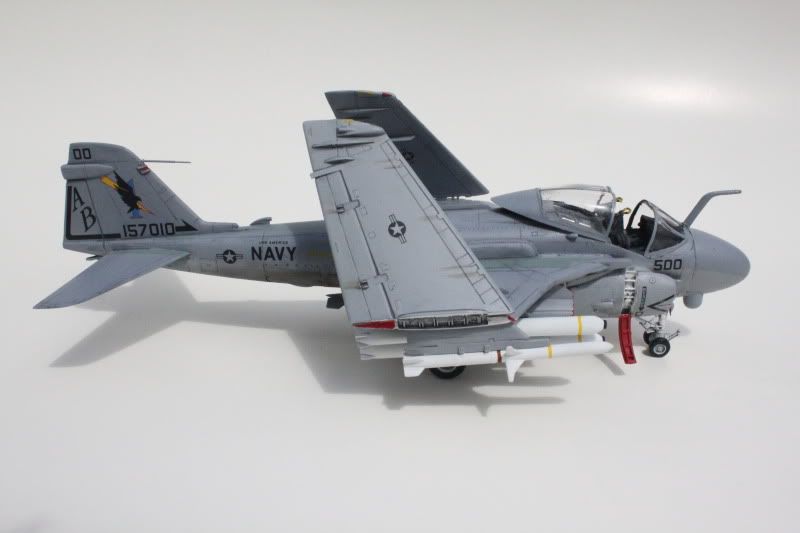
And after adding the ordnance, landing gear, outboard wings, and other final details, my first project back was complete....
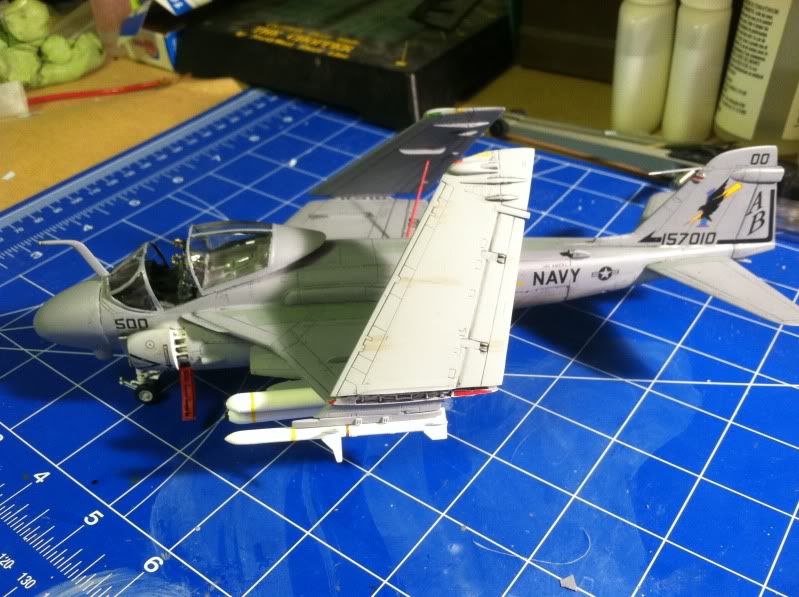
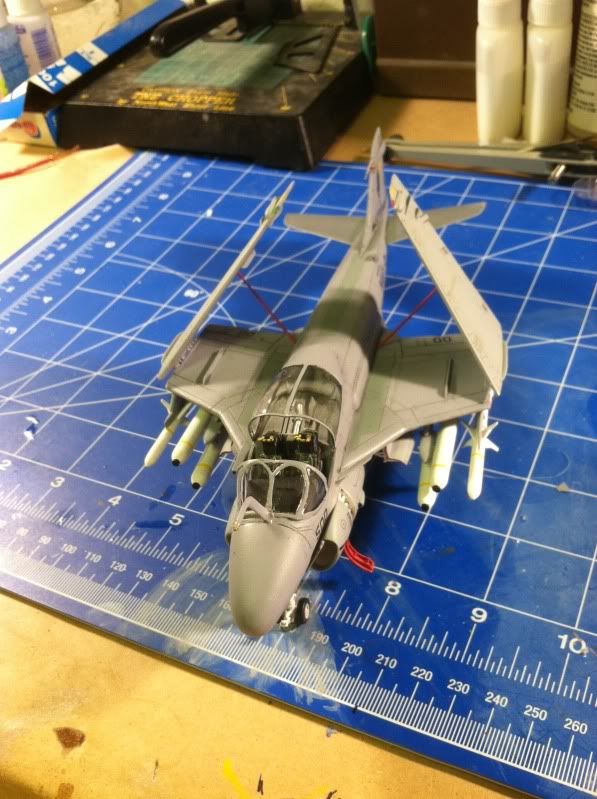


Kit: Italeri 
Scale: 1/72
Markings: VA-85
Date: June 2012
Aftermarket: Hi-Decal


Sunday, August 10, 2008

1/72 EA-6B Prowler


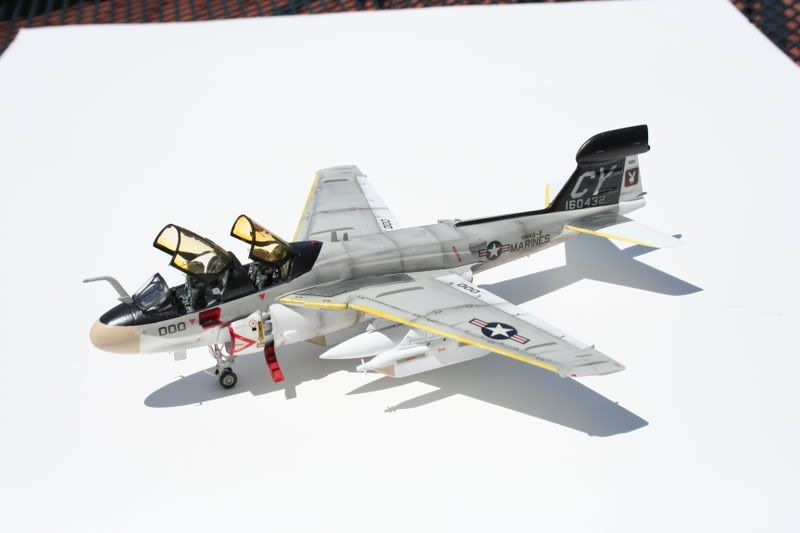
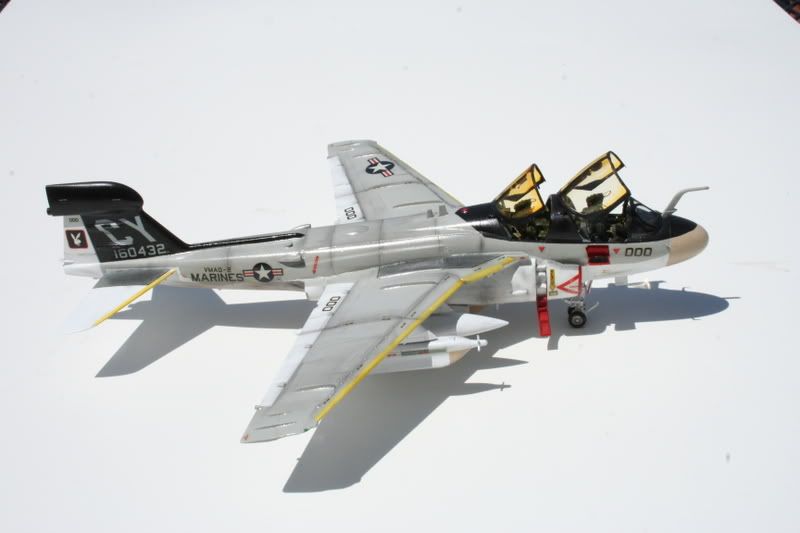
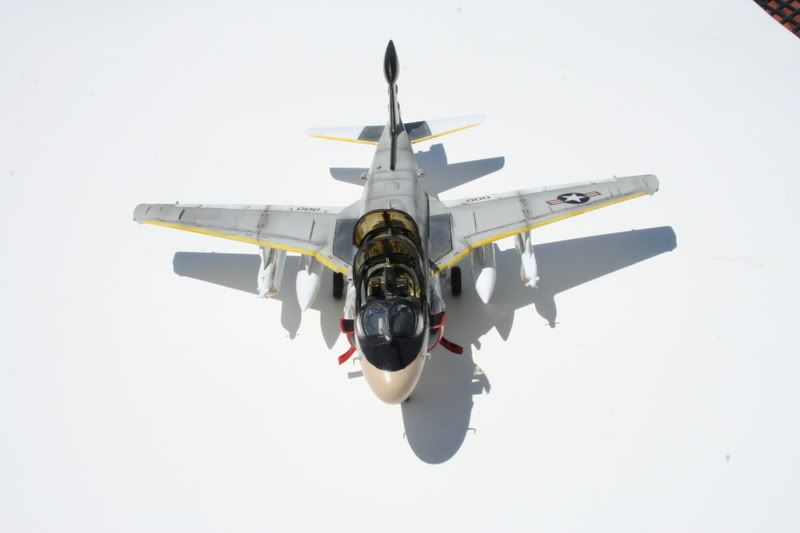
Another Hasegawa Prowler. This time, I replaced the kit seats with resin examples from True Details. These are great seats, but they turn out to be a little wider than the space for them in the kit cockpit tub. Some judicious sanding of seats and tub was required to get them to fit, but the finished product doesn't really show it. I also used the Eduard photo-etch set to dress things up (especially the cockpit).

The decals were from the kit - I wanted to do a VMAQ-2 bird from the days when they were still the Playboys, before the political-correctness witch-hunts of the early 1990s. The white paint is Tamiya XF-2, the gray is from Gunze, and the tan and black are from Testors. I'm becoming an increasingly big fan of both Tamiya and Gunze acrylics.

It will be last one I get to do for a while, as soon I have to move.

Kit: Hasegawa
Scale: 1/72
Markings: VMAQ-2
Date: 2008
Aftermarket: True Details resin seats, Eduard photo-etch brass detail set

Saturday, March 29, 2008

1/72 F/A-18 Hornet


It's not often (read: almost never) that I think a kit is a total dog, and I sort of pride myself on the fact that I'll build damn near anything. But this one was pretty bad. It almost didn't get built.

Even after assembling it I have no idea as to it's pedigree. I saw no discernible manufacturer's name or emblem on the box or instructions. It was one of those last minute E-bay scores - finding something ending in the next few minutes that was only going for 99 cents. At least I wasn't out a lot of money.

The seat looked like something from the set of a bad 60s sci-fi show, and the side console detail was 3 raised rings on each side of the cockpit - as if the plane came equipped with 6 drink holders. I was not interested in scratchbuilding a cockpit, or cannibalizing another kit. But I decided I could use it as a "test bed" for a painted canopy.

Sometimes in this hobby, folks will recommend you try a new technique out on a "throw away" model first - well, I don't really have any throw away models. But I did have one that could only improve! I also decide to try making an inflight display, something else (along with the opaque canopy) I hadn't done before.

The canopy was painted blue from the inside after having been coated with Future. It was masked for the framing then installed (and the gaps around it filled with white craft glue - which dries clear, won't craze clear plastic, and can be shaped while wet with a damp Q-Tip, meaning no sanding marks on your canopy). The supports for the inflight display are 2 K&S aluminum tubes bent to shape and cemented into a wood base I grabbed at Wal-Mart.

To make it look somewhat interesting, I used Superscale decals for "Strike U", and made a TACTS pod out of a Sidewinder missile. Weathering was with pastels.

Kit: ???
Scale: 1/72
Markings: Naval Strike Warfare Center ("Strike U")
Date: 2008
Aftermarket: Superscale Decals, K&S aluminum tubing

Monday, February 11, 2008

1/72 Gripen


The second project for the Swedish Air Force group build at FSM. This was Revell's kit, which was well fitting, though to be honest I found the panel line detail to be a little deep. The landing gear looked a little on the thick side too. Again, I wasn't fond of the kit marking options so I turned to Twobobs.

Kit: Revell
Scale: 1/72
Markings: Swedish Air Force
Date: 2006
Aftermarket: Twobobs decals

Saturday, February 2, 2008

1/72 Viggen


Another group build over at FSM, and another opportunity for me to fall behind the timeline. The kit was a relatively old Hasegawa offering, and while initially I thought the green splinter camo paint job the Swedes used would be cool, I came to find out the airframe represented in the kit was a preproduction model that would never have worn that paint scheme. So, I went with this early, preproduction look. It also gave me a chance to use Alcad for the metal finish, which I highly recommend.

There was no detail inside the rather large tailpipe, so to suggest the presence of an engine I did a little scratchbuilding with styrene strip. Installed, painted and weathered, it looked, well, ALMOST convincing... Other than that, the project was out-of-the-box.


Kit: Hasegawa
Scale: 1/72
Markings: Swedish Air Force, preproduction
Date: 2006
Aftermarket: Scratchbuilt tailpipe interior

Sunday, January 27, 2008

1/72 MiG-27


I did this one at the same time as the MiG-23 below. While it made for some efficient assembly, the differing paint jobs meant the efficiencies stopped once I got to the booth. But, it was still a good project.

Kit: Hasegawa
Scale: 1/72
Markings: VVS
Date: 2006
Aftermarket: None

Saturday, January 26, 2008

1/72 MiG-23


This project was one of two I did for a Soviet themed group-build on the FineScale Modeler forums. For those who haven't heard of them, group builds are where folks decide to build projects of a common theme while posting their progress and whatnot. The catch is, they generally have deadlines - and therein lies the rub for me, at least in this stage of my life - deadlines are just plain hard to meet for me. I still enjoyed the experience, and if your free time is more predictable than mine, group builds can be a fun way to partake of the hobby.

It was simple and straightforward construction. Decent fit and all that. Cockpit was simple, but the canopy doesn't allow too much of a view in there anyway.

Kit: Hasegawa
Scale: 1/72
Markings: VVS
Date: 2006
Aftermarket: None

Saturday, January 19, 2008

1/72 Royal Navy Hellcat


Another simple project as I was finishing the A-6E (below) and the F-15I (to be posted soon). The kit is by Hasegawa and was a simple, straightforward build. It's out of the box, and I kept weathering light. Only my second WWII project, but there will be more - always nice to change things up every once in a while!

Kit: Hasegawa
Scale: 1/72
Markings: Royal Navy
Date: 2004
Aftermarket: None